BRACKETS
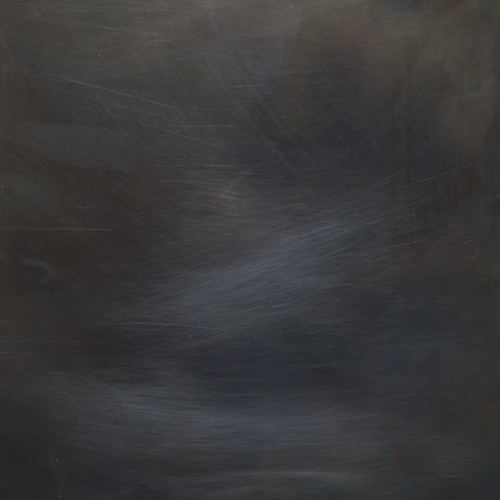
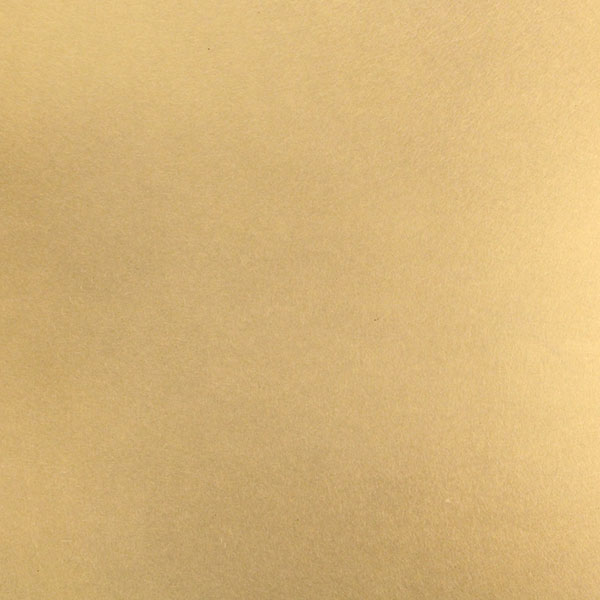
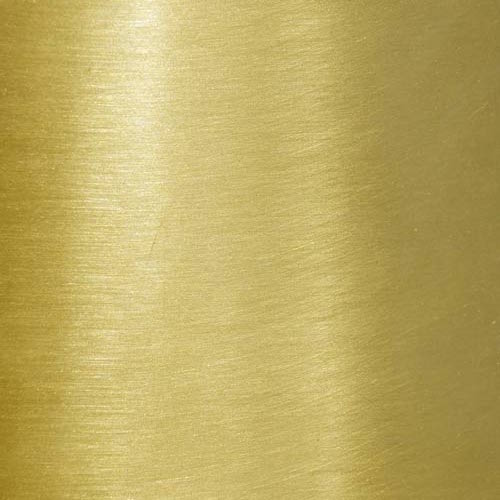
Made in Los Angeles with welded, not formed, steel our brackets offer superior strength without any flexing. A range of durable finishes offer a guaranteed fit for any aesthetic.
C-Brackets
For double stacking 2 shelves.Priced per bracket.
Made to order with 7-10 day lead time.


︎ As featured in Jungalow
Copper plated C-Brackets paired with
Rustic Douglas Fir shelves with Flat Clear Sealer shown in photo
Copper plated C-Brackets paired with
Rustic Douglas Fir shelves with Flat Clear Sealer shown in photo
L-Brackets
For any shelves, anywhere.


Priced per bracket.
Made to order with 7-10 day lead time.
︎ Black Patina L-Brackets paired with
Rustic Douglas Fir shelves without any sealer
shown in photo
T-Brackets
For truly floating shelves.The strongest solution available in the market.
No tilt or flex like other floating hardware.
Peace of mind you can put as much of anything as you like on your shelves comes free.
Priced per bracket.
Made to order with 1-2 day lead time.
︎ T-Brackets (invisible) with
Walnut hollow-box style shelves with
Dead Flat Clear Hardnening Oil Finish
shown in photo
Vertical Static Load Test for our brackets, when mounted to the studs:
C-Bracket — 300 lb / 136 kg
L-Bracket — 200 lb / 91 kg
T-Bracket — 380 lb / 172 kg
Installation Notes:
For C- and L-Brackets:
Mount brackets on studs only.
Recommended shelf material is 1.5-2” thick and 1” wider than bracket depth. Need custom sizes? Let us know and we’ll make it happen.
Ideal bracket placement is every 32-48”, less for more load carrying application.
Plated versions come with matching finish on countersunk wood screws.
Use any available screws appropriate for the substructure, e.g., metal studs or plaster walls, on other finishes to match your aesthetic.
For T-Brackets:
Drywall work is necessary.
Mount brackets on side on studs only.
If you are doing tile work, this is the ideal time to install these brackets. If the wall work is complete, make small openings for each bracket along the stud at height you need to secure them.
Ensure they are extending at a true 90o from the wall and level with each other.
Patch and paint the drywall or finish tiling.
Slide the Hollow-box style shelving over the brackets and voila! it’s all done. Make appropriate holes in the back of Solid wood shelves to receive the T-brackets and after some elbow grease, voila!
Recommendations:
Recommended shelf material is 1.5-2” thick, with placement every 32-48”.
Stay at least 3” away from the ends of the shelves.
Bracket length should be ~60-80% of the depth of the shelves.
Account for length to be “lost” to tile work, drywall, etc. (typically, ~1/2-1”) in addition to any other recesses you may want to include.
Extension measurements are to be measured from the studs.
Shelf Preparation:
Solid wood shelves will need to be drilled with a 3/4" diameter bit to a sufficient depth in the spots where the brackets are placed.
The hollow box style shelves can easily slide over the brackets and are ready to use.
Helpful notes:
A small bead of silicone, tape or rubber bands tied to the tip of the brackets is good way to eliminate any play in the shelves, or to make them level, once they are fitted on the brackets.
BY APPOINTMENT ONLYM - F — 7a - 2p
![]()
![]()
![]()
![]()
CLOSED WEEKENDS AND MAJOR HOLIDAYS


ALL RIGHTS RESERVED. 2020